
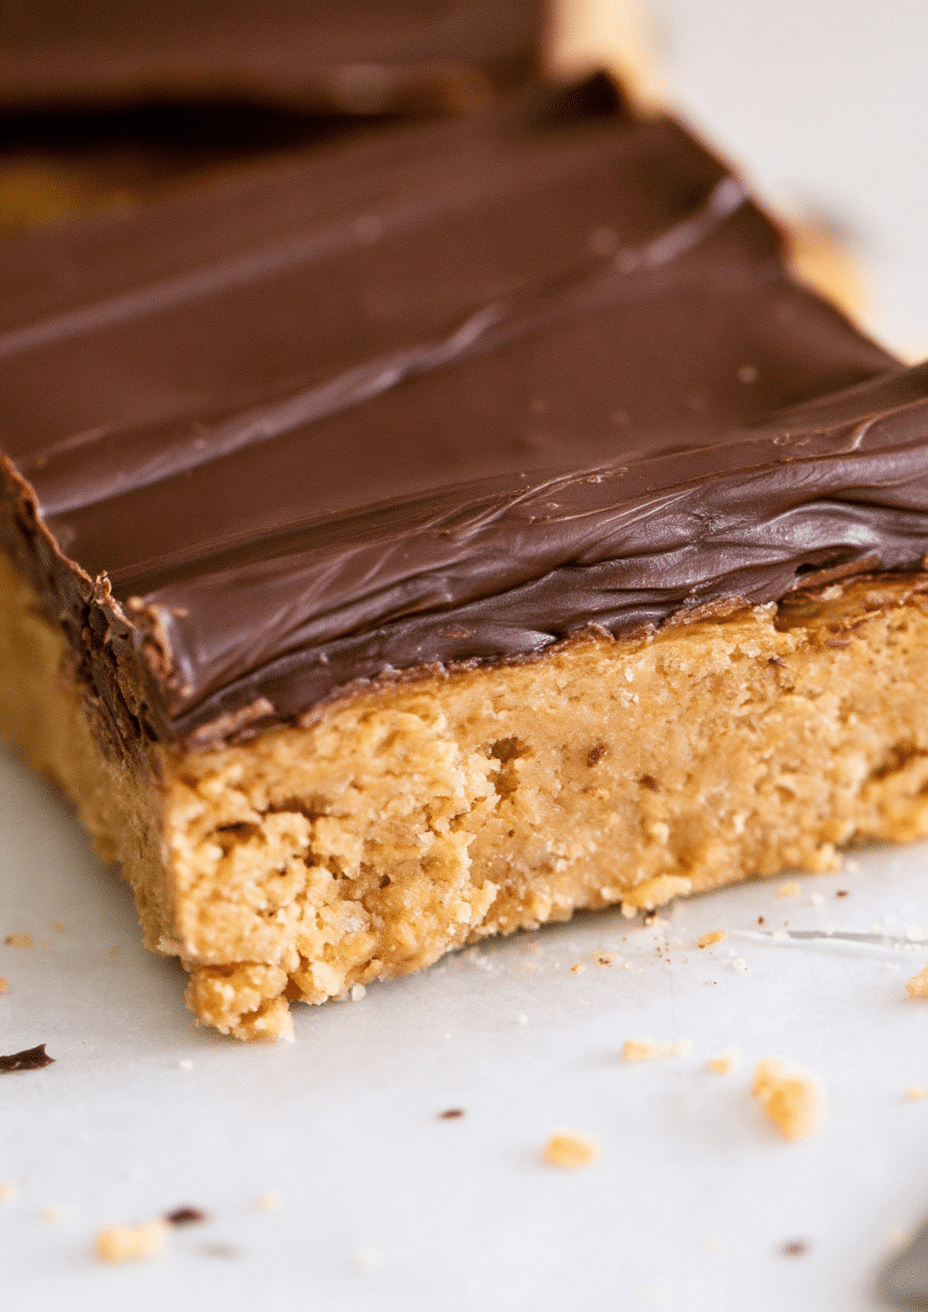
Homemade Reese’s bars are an easy no-bake dessert made with a rich peanut butter filling and a smooth milk chocolate topping. With a buttery graham cracker base, creamy peanut butter, and a layer of melted chocolate, these homemade peanut butter bars have all the flavors of a classic peanut butter cup.
This simple recipe takes just 10 minutes of preparation and requires no oven. The peanut butter mixture is pressed into a baking pan, covered with melted chocolate, and refrigerated until firm. Cut them into squares for an easy dessert to share with family, bring to gatherings, or keep in the refrigerator when you want something sweet.
Why You’ll Love These Homemade Reese’s Bars
- No oven required: These no-bake peanut butter bars come together without baking, making preparation simple and convenient.
- Classic peanut butter and chocolate combination: Creamy peanut butter filling and rich milk chocolate create the familiar flavor of homemade peanut butter cups.
- Simple ingredients: Graham cracker crumbs, butter, powdered sugar, brown sugar, peanut butter, vanilla, and chocolate chips make up this easy dessert.
- Great for sharing: The recipe makes 20 bars, making it a convenient treat for family gatherings, parties, and dessert platters.
- Easy to prepare ahead: The bars need time in the refrigerator for the chocolate to harden, so you can prepare them before serving.
Homemade Reese’s Bars Ingredients
Each ingredient contributes to the flavor and texture of these no-bake peanut butter chocolate bars.
- Salted butter: Melted butter helps bring the peanut butter filling together and gives the base its rich texture.
- Graham cracker crumbs: These provide structure and a slightly crumbly texture, helping create the firm peanut butter layer.
- Light brown sugar: Adds sweetness and a subtle brown sugar flavor to the filling.
- Powdered sugar: Sweetens the peanut butter mixture and helps give it a smooth, firm consistency. A little extra can be added if the mixture is too soft.
- Creamy peanut butter: The main ingredient in the filling, giving the bars their signature peanut butter flavor.
- Vanilla extract: Adds a complementary flavor to the peanut butter mixture.
- Milk chocolate chips: Melted with an additional tablespoon of peanut butter, they create the smooth chocolate topping.
The recipe uses creamy peanut butter for the filling and a little extra for melting with the chocolate chips. This helps bring the two layers together into a classic chocolate and peanut butter dessert.
Helpful Tips for Making Peanut Butter Chocolate Bars
A few simple details can make preparing and cutting these homemade Reese’s bars easier.
- Check the filling consistency: The peanut butter mixture should be smooth and creamy but firm enough to press into the pan. If it is too soft, add a little more powdered sugar.
- Press the mixture evenly: Spread the peanut butter base across the 9×13-inch pan so the bars have a consistent thickness.
- Melt the chocolate gently: When using the microwave, heat the chocolate chips and peanut butter at 50% power for 1–2 minutes. Stir the mixture and avoid overheating.
- Tap the pan: After spreading the melted chocolate, gently tap the pan on the counter to help even out the topping.
- Let the chocolate set completely: Refrigerate the bars until the chocolate hardens, approximately 30 minutes.
- Wait before slicing: Allow the chilled bars to sit at room temperature for a few minutes before cutting. This helps prevent the chocolate from cracking.
How to Make Homemade Reese’s Bars
These homemade peanut butter bars come together in a few simple steps without turning on the oven.
Step 1: Prepare the Peanut Butter Mixture
Add the melted salted butter, graham cracker crumbs, light brown sugar, powdered sugar, creamy peanut butter, and vanilla extract to a medium-sized bowl.
Stir everything together until the mixture is smooth and creamy. If the mixture feels too soft, add a little more powdered sugar until it reaches a consistency that can be pressed into the pan.
Step 2: Press Into the Pan
Transfer the peanut butter mixture to a 9×13-inch pan. Press it evenly across the bottom to create the base for the bars.
Place the pan in the refrigerator while you prepare the chocolate topping.
Step 3: Melt the Chocolate
Combine the milk chocolate chips with 1 tablespoon of peanut butter.
Melt the mixture in the microwave at 50% power for 1–2 minutes, or use a double boiler on the stove. Stir until the chocolate is melted and smooth.
Step 4: Add the Chocolate Topping
Pour the melted chocolate over the chilled peanut butter layer. Use a spatula to spread it evenly across the surface.
Gently tap the pan on the counter to help smooth and even out the chocolate topping.
Step 5: Refrigerate and Cut
Place the pan in the refrigerator until the chocolate has hardened, approximately 30 minutes.
Before cutting, let the bars sit at room temperature for a few minutes so the chocolate does not crack. For smoother cuts, use a plastic knife.
Cut into 20 bars and enjoy!
Variations and Substitutions
These bars can be adapted with a simple alternative to the peanut butter filling.
- Almond butter bars: The original recipe notes that almond butter can be substituted for peanut butter if there is a peanut allergy in your household. Check ingredient labels for potential allergens and cross-contact.
Keep in mind that changing the nut butter may affect the flavor and consistency of the finished bars.
How to Serve Homemade Reese’s Bars
These chocolate peanut butter bars are easy to cut into individual portions and serve as a sweet treat after a meal.
A few serving ideas include:
- Arrange the bars on a dessert platter for family gatherings.
- Cut them into smaller squares for parties and dessert tables.
- Serve them as an easy homemade treat during the holidays.
- Keep them chilled and enjoy one whenever you want a chocolate and peanut butter dessert.
Since the chocolate topping needs to remain firm, serving the bars chilled helps maintain their shape.
Frequently Asked Questions
Do Homemade Reese’s Bars Need to Be Baked?
No. These homemade Reese’s bars are completely no-bake. The peanut butter mixture is pressed into a pan, topped with melted chocolate, and refrigerated until firm.
How Long Does It Take for the Chocolate to Harden?
The chocolate topping takes approximately 30 minutes to harden in the refrigerator. Let the bars sit at room temperature for a few minutes before slicing.
Why Is My Peanut Butter Mixture Too Soft?
If the mixture is too soft to press into the pan, add a little more powdered sugar. Stir until it reaches a consistency that can be spread and pressed evenly.
How Can I Cut the Bars Without Cracking the Chocolate?
Allow the bars to sit at room temperature for a few minutes before cutting. Using a plastic knife can also help create smoother cuts.
Can I Use Almond Butter Instead of Peanut Butter?
Yes. The recipe notes that almond butter can be used instead of peanut butter. The flavor and texture may differ slightly from the original version.
Storage and Make-Ahead Tips
These homemade Reese’s bars are best stored in the refrigerator or freezer.
- Refrigerator: Keep the bars refrigerated to help maintain their firm peanut butter base and hardened chocolate topping.
- Freezer: The recipe notes that the bars can also be stored in the freezer.
- Make ahead: You can prepare the bars in advance and refrigerate them until the chocolate topping has hardened.
For the best cutting results, allow refrigerated bars to sit at room temperature for a few minutes before slicing or serving.
Make These Easy Homemade Reese’s Bars
Homemade Reese’s bars are a simple way to enjoy the classic combination of creamy peanut butter and chocolate in an easy no-bake dessert. With a buttery graham cracker base and smooth milk chocolate topping, these bars are perfect for sharing or keeping on hand for a sweet treat. Save this recipe and make a batch whenever you’re craving homemade peanut butter chocolate bars!
Print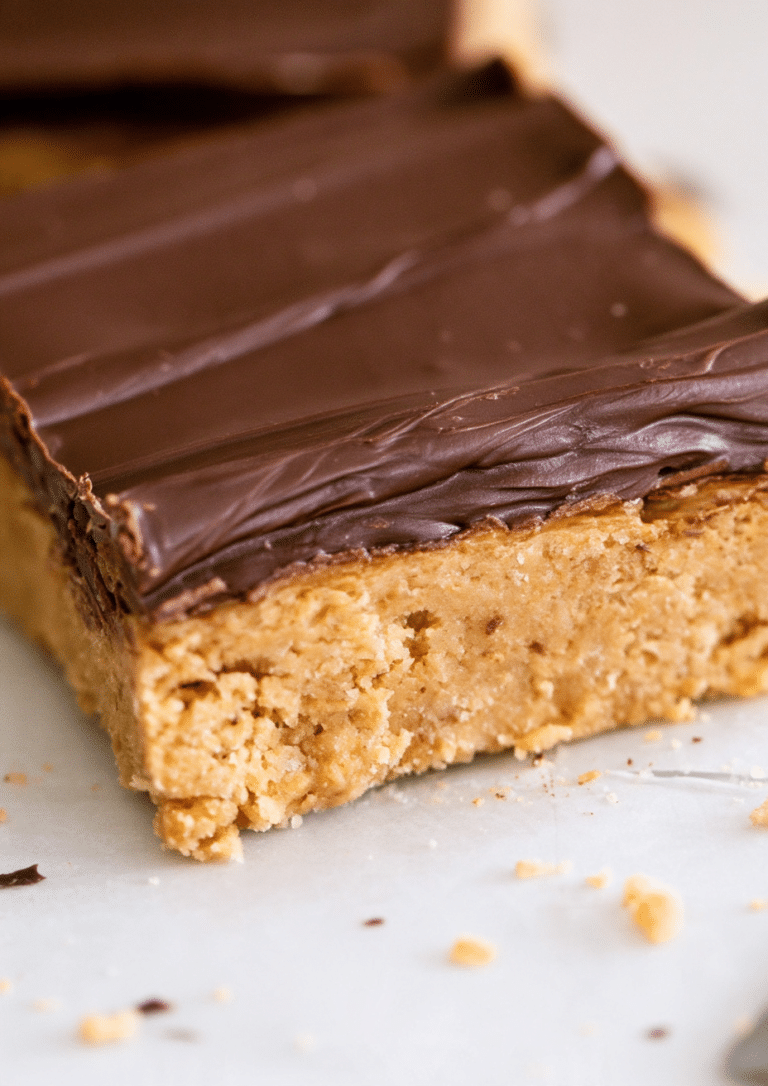
Homemade Reese’s Bars – Easy No-Bake Peanut Butter Chocolate Bars
No-bake peanut butter bars are a quick and easy dessert with no oven time required. An irresistible peanut butter base topped with rich chocolate tastes like homemade Reese’s.
- Total Time: 30 minutes
- Yield: 20 bars
Ingredients
- 1 cup salted butter, melted
- 2 cups Keebler graham cracker crumbs
- 1/4 cup light brown sugar
- 1 3/4 cups powdered sugar
- 1 cup creamy peanut butter, plus 1 tablespoon
- 1/2 teaspoon vanilla extract
- 11 ounces milk chocolate chips
Instructions
- Combine all ingredients except the chocolate chips in a medium-sized bowl. Stir until the mixture is smooth and creamy. If it is too soft, add a little more powdered sugar.
- Press the peanut butter mixture into a 9×13-inch pan and place it in the refrigerator.
- Melt the chocolate chips with 1 tablespoon of peanut butter in the microwave at 50% power for 1–2 minutes, or melt them on the stove using a double boiler.
- Stir the melted chocolate and pour it over the peanut butter mixture. Spread the chocolate with a spatula. To even it out, tap the pan on the counter.
- Refrigerate the bars until the chocolate has hardened, about 30 minutes.
- Allow the bars to sit at room temperature for a few minutes before cutting so the chocolate does not crack. Enjoy!
Notes
- These bars are best stored in the refrigerator or freezer.
- For a smooth cut, use a plastic knife.
- You can substitute almond butter if there is a peanut allergy in your household.
- Prep Time: 10 minutes
- Cook Time: 20 minutes
- Category: Dessert
- Method: No Bake


